
Best Practices for Refinishing Exterior Trim
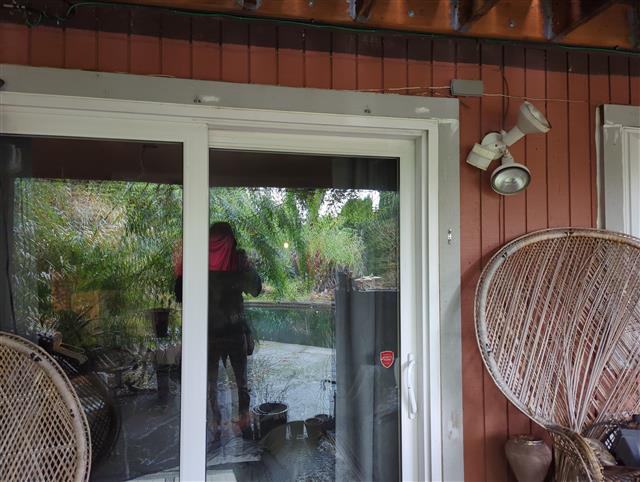
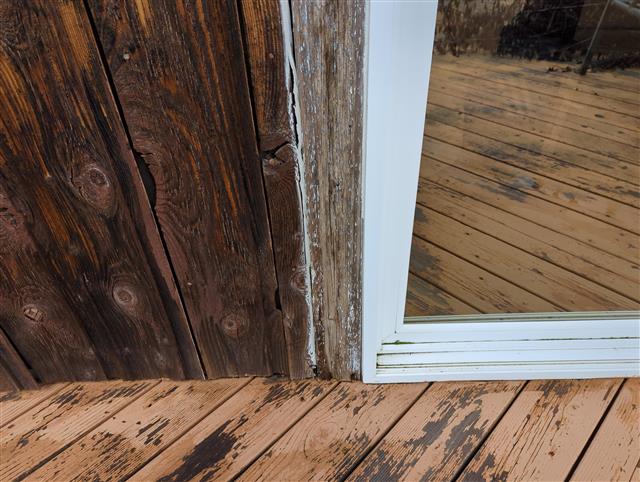
Before you start the refinishing process, it’s important to figure out the condition of the trim. Look for signs of peeling paint, cracks, or areas of wood rot. Damaged trim will need to be repaired or replaced. Also, you may need to have pest treatment done to address any pest problems and install flashing to help with moisture intrusion problems. These things should be done before repainting the trim to ensure that the new trim finish will last as long as possible.
The trim has to be prepared properly to get a smooth and long-lasting finish. Start by thoroughly cleaning the surface of the trim to remove dirt, debris, and any loose paint. You may need to use a cleaning solution and/or a pressure washer to help you get the trim clean enough to paint. After cleaning, you have to let the trim dry completely before going to the next step.
Lead Paint Awareness:
It’s important to be aware of the hazards associated with lead paint, especially if the home was built before 1978. Lead-based paint was often used to paint homes because the paint is more durable and holds its color well. After the health risks of lead were identified, the EPA banned lead paint. However, many homes still have lead paint. If the home was built before 1978, there’s a chance that lead-based paint was used on the exterior of the home. Hardware stores and online retailers sell testing kits that you can use to test the home for lead paint. The kits are relatively easy to use. Just follow the manufacturer’s instructions and take appropriate safety measures when testing for lead.
If the test shows that the home does in fact have lead paint, you have to make sure that you are adequately protecting yourself and the environment when scraping or sanding the paint. It’s best to hire a professional lead abatement contractor to safely remove and dispose of the paint. Trying to remove lead paint yourself can increase the risk of lead exposure and contamination.
When working with lead paint, you should wear a respirator mask, disposable coveralls, gloves, and safety goggles to protect yourself from lead dust and fumes. If possible, you should avoid creating dust through sanding or scraping. Always follow local regulations and guidelines for the disposal of lead-contaminated materials.
Often, the choice is made to paint over existing lead paint without doing anything to the existing paint to avoid lead paint exposure.
Refinishing Your Exterior Trim:
It is critical to use a high-quality paint and primer. Typically, any savings that you see when purchasing the paint do not pay off in the long-run. Cheap paint can ail much sooner than quality paint, meaning that you will need to go through this process sooner than needed. There are lots of considerations when it comes to selecting a paint color. Often, using a similar color to other homes in the neighborhood is a safe bet. Many paints come as a paint and primer. If the trim already has paint or primer on it, then another coat of primer is typically not needed. However, applying a primer coat can help with paint adhesion and improved durability.
Use a high-quality brush or paint sprayer to apply the paint evenly to the exterior trim. Applying paint too heavily will result in paint runs however, if the paint coat is too thin, it will not perform as intended. Getting even application can take some practice, especially when using a sprayer. While paint is typically dry within 24 hours, remember that most paints take much longer to fully cure. Don’t clean or rub the paint until it is fully cured.
Inspect the trim periodically for signs of wear or damage, and touch up any areas as needed. Clean the trim annually with a mild detergent and water solution to remove dirt and debris. Maintaining paint is a great way to make sure it lasts as long as possible and also helps keep your home looking neat and tidy.
You can learn more about how experts remove lead paint from trim here: