
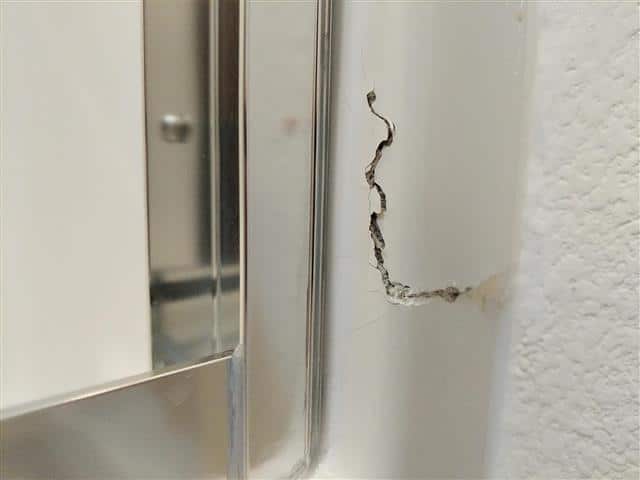
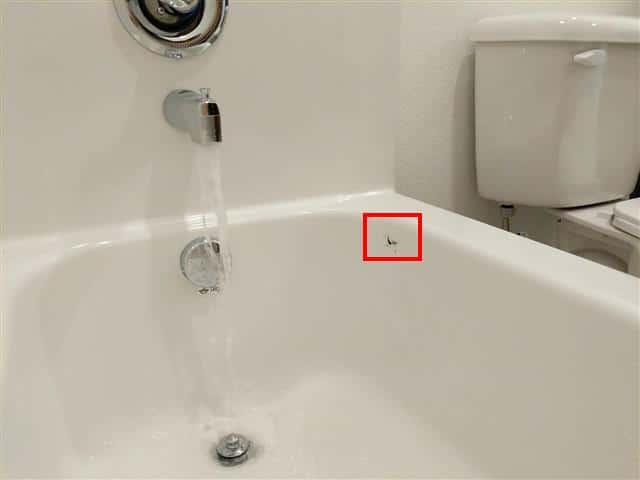
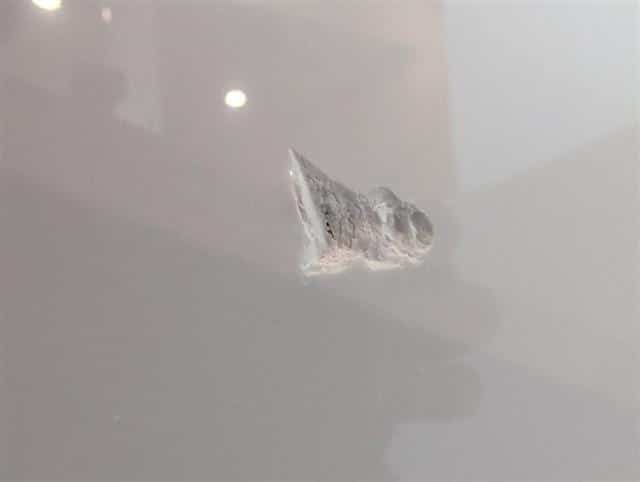
Damaged Fiberglass Bathtubs and Shower Enclosures
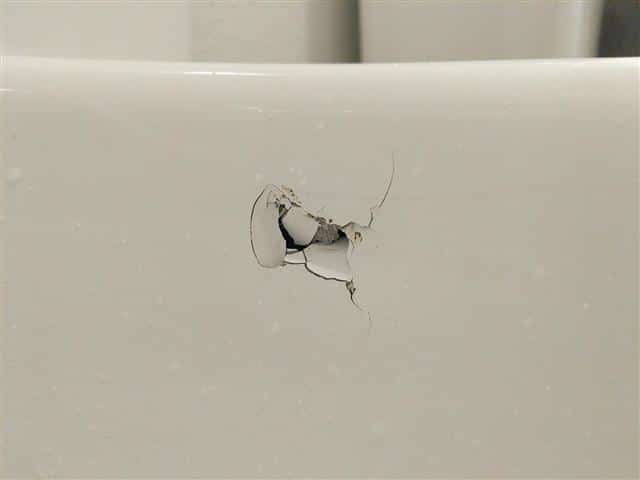
A leaking and damaged bathtub or shower can lead to a variety of serious issues. Continuous leaks may cause water to seep into surrounding walls, floors, and ceilings, resulting in significant structural damage. The moist environment created by such leaks is conducive to mold and mildew growth, which not only poses health risks but also further damages materials. Additionally, prolonged water exposure can lead to wood rot in structural components like joists and subfloors, compromising stability. Adjacent drywall may also suffer damage, requiring repair or replacement. Metal fixtures and plumbing can corrode over time, while flooring materials such as tile, laminate, or vinyl can warp or buckle, necessitating costly replacements. Finally, the moisture can attract pests, including termites and other insects, which can cause additional harm. Promptly addressing leaks and damage is essential to prevent these potential defects and maintain the integrity of your home.
Materials Needed:
Fiberglass repair kit (approved resin and hardener)
Sandpaper (various grits, typically 80, 120, and 220)
Acetone or rubbing alcohol
Clean cloth
Putty knife
Gel coat or fiberglass resin (if not included in the kit)
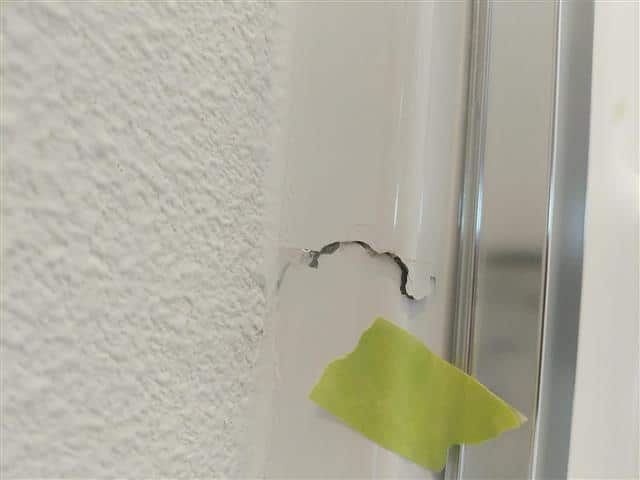
Masking tape (optional)
Steps:
Clean the Area: Use acetone or rubbing alcohol to clean the damaged area thoroughly. Remove any dirt, soap scum, or grease to ensure good adhesion.
Sand the Damage: Lightly sand around the hole or damage to create a rough surface for better bonding. Start with coarse sandpaper (80 grit) and finish with finer sandpaper (220 grit).
Apply the Repair: Use a putty knife to apply the mixed fiberglass resin to the damaged area. Press it into the hole or crack, ensuring it fills the damage completely. For larger holes, you might need to apply a patch of fiberglass cloth soaked in resin over the area for added strength.
Smooth the Surface: Use the putty knife to smooth the repair area as much as possible. Feather the edges to blend with the surrounding surface.
Let it Cure: Allow the repair to cure as per the product instructions, usually 24 hours.
Sand Again: Once cured, sand the area again to make it flush with the surrounding surface. Start with 120 grit and finish with 220 grit for a smooth finish.
Polish (Optional): After everything is dry and sanded, you can polish the area with a fiberglass polish to restore shine.
Tips:
Always wear gloves and work in a well-ventilated area when handling fiberglass and resin.
If the damage is extensive or you’re unsure, consider consulting a professional for repair.
With patience and careful execution, you can effectively repair fiberglass showers and bathtubs, restoring their appearance and functionality. If these steps seem out of your abilities, we recommend having the area repaired by a qualified and licensed contractor that specializes in fiberglass repair.