
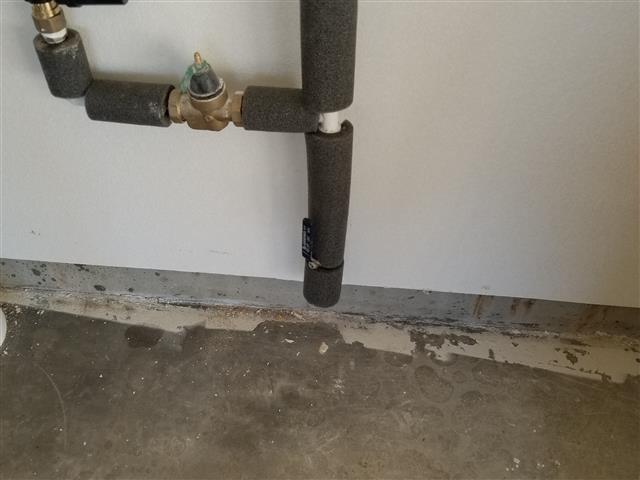
Valves are found throughout the home, typically at every toilet, sink, and other plumbing appliance. These smaller shut offs are used to turn off water in one specific area, making for easier access for repairs or to prevent damage in a localized area. The main shut off is a larger valve often found in the garage or in a closet. This valve (often a ball valve) turns off water to the entire home and can also be found at the water meter. If your home has a gate valve at the main water shut off, be careful as these can break and replacing these with a ball valve is recommended.
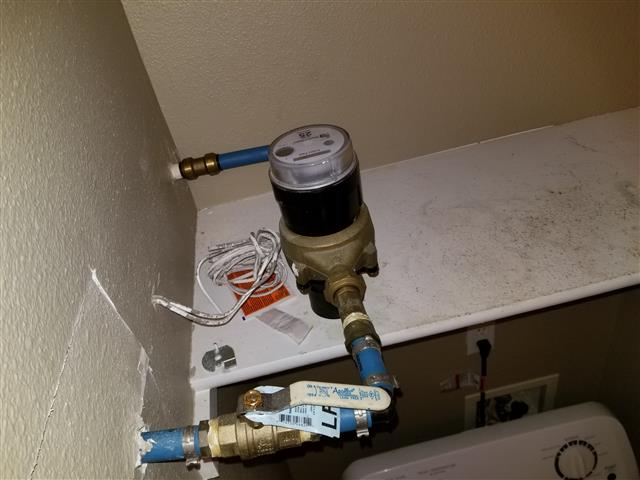
If you are able to shut off the water at the curb, you can proceed in replacing the interior main water shut off valve. Loosen the coupling nut and remove the nipple from the old valve. If you are replacing an older valve, this is a good time to upgrade from a gate valve to a ball valve. Screw in the new ball valve and install the nipple with a new leather washer. Neoprene washers can also be used, however neoprene can eventually dry out and crack. You can use pipe dope or Teflon tape on the threads to ensure a tight installation. Lastly, tighten the coupling nut and turn on the water to test for leaks.