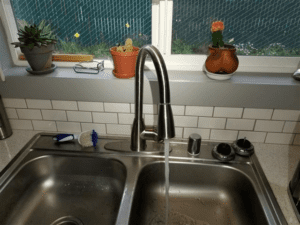
Whether from worn rubber gaskets to missing or damaged hardware, leaking faucets can lead to a significant amount of water waste and can cause damage to the surrounding counters, floors, cabinets, or drywall.
The most common types of kitchen sink faucets are typically:
• Cartridge faucets
• Ball faucets
These different types of faucets work to produce water from a spout, however they each operate this task in a different way and repairing these faucets will require different methods.
With a leaking cartridge faucet, a leak is usually caused by a failed or faulty O-ring, also called a packing or toric joint. These O-rings prevent water from escaping through the joint opening and often lead to leakage when they age and deteriorate. To replace the O-rings in a cartridge faucet, pry the decorative cap off of the top of the faucet handle, remove the handle screw, and tilt the handle back to take it off. Using a set of pliers, remove the threaded retaining clip that holds the cartridge in place and pull the cartridge up. This should expose the O-rings which can then be cut off and replaced with new O-rings. Lastly, coat the O-rings in heat proof, nontoxic, plumber’s grease before reinstalling the retaining clip and putting the decorative cap back in place.
Leaks at ball type faucets are typically more difficult to identify since there are many different parts and installing new parts with a replacement kit is often a better option to avoid repeated leaks. First, pry the cover off of the small access or button on the side of the faucet, revealing the hex-head screw. With a hex-key wrench, loosen this screw and remove the faucet handle, using pliers to remove the collar and cap. With the specialized tool that comes with the replacement kit, loosen the faucet cam and remove it with the cam washer and ball. Remember the position that the ball was in as this will help with placing it during reassembly. Using needle nose pliers, remove the rubber seats and springs from the faucet body and replace them with the new springs and seats. Install the rotating ball back into the faucet, making sure that it is aligned properly. Install the new rubber gasket and cap on top of the ball and tighten the cap back onto the faucet. Lastly, use a spanner wrench to tighten the nut to the proper tension on the rotating ball.
Below are videos with how-to guides to repairing ball and cartridge type faucets:
