
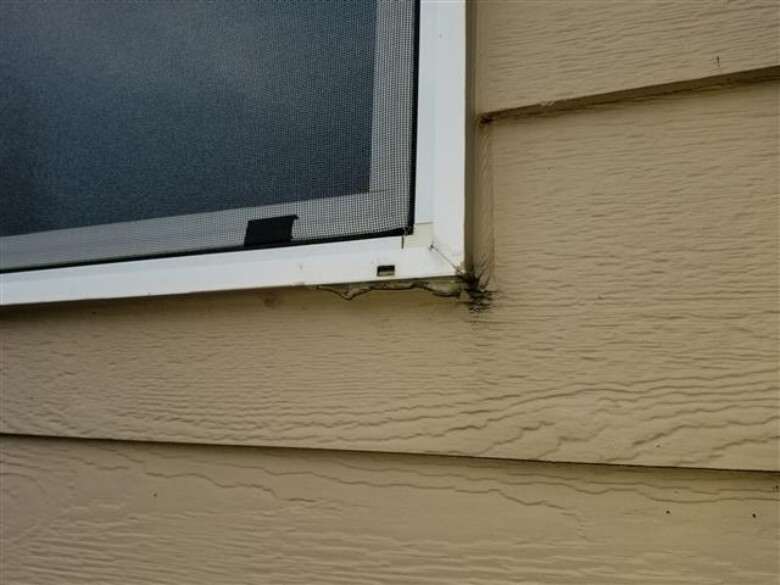
Exterior Sealant
Sealant is an essential part of a home and can be found both on the interior and exterior. Sealant is usually used to seal and close small gaps, penetrations, holes, and joints that would otherwise allow the movement of moisture, pests, air, or dust. This can include, but is not limited to:
· Windows
· Siding
· Trim
· Countertops
· Bathtubs
· Showers
· Plumbing fixtures
While there are many different types of sealant for many different purposes, the most common sealants are latex, acrylic, silicone, or polyurethane based. These types all vary by durability, UV resistance, shrinkage, ease of application, and indoor/outdoor applicability.
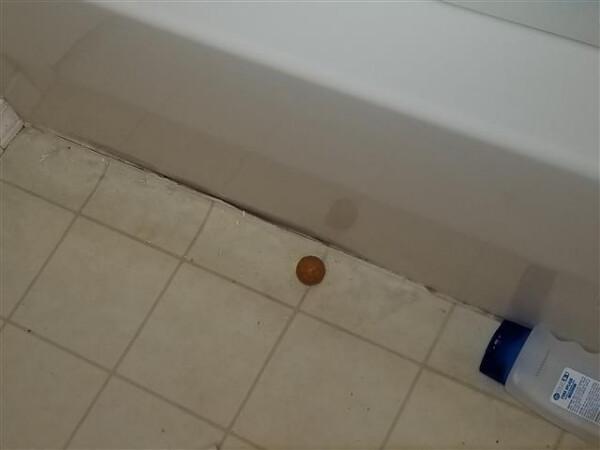
Sealant Near Bathtub
Deteriorated, cracked, or missing sealant is a common issue in many homes and while it can be an easy fix to repair or replace the sealant itself, hidden damage may be present and not visible at the time of the inspection. Exterior areas and areas around plumbing fixtures (kitchens, bathrooms, countertops, etc.) are particularly vulnerable to moisture intrusion and damage from gaps in the sealant. In addition, gaps at the exterior can allow pest intrusion and air movement into the home. Pests can cause extensive damage and unsanitary conditions and air movement can limit the home’s ability to minimize heat loss and introduce moisture.
Repairing interior sealant around sinks is typically a straightforward process including removing the old sealant, prepping the surface, and applying the new sealant. For applications on the interior, these are usually latex or silicone based. Since different sealants require different solvents to remove them, it is usually simpler to dig out the old sealant rather than attempt to dissolve it. With a utility knife, insert the blade against the top surface of the sink or countertop and scrape along the surface smoothly. Then, repeat the same actions on the bottom surface in the other direction. Once the sealant is loose, you can pull out the old sealant to make way for the new sealant preparation.
Next, use denatured alcohol to clean the area where the old sealant was installed. This will remove residue, grime, dust, debris, and any other build up that can interfere with the new sealant adhering to the surface.
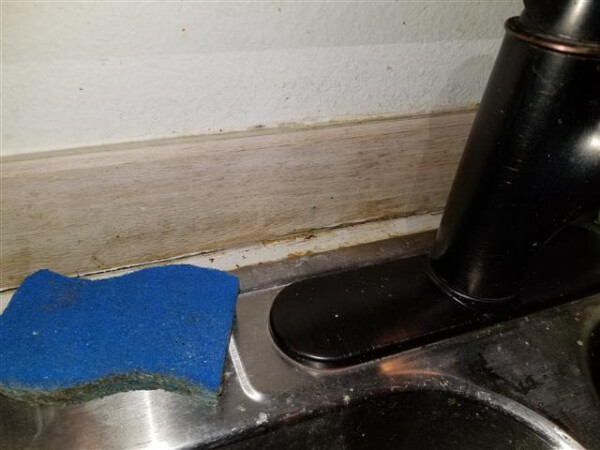
Sealant Near Kitchen Sink
Using a sealant designed for interior use (usually silicone or latex based), cut a small hole in the application tube and hold the tip of the tube at a 45-degree angle. When installing the sealant, pull the sealant along the gap, rather than pushing it. This will help to prevent beads from forming in the new sealant. Next, double check that there are no gaps in the new sealant.
Lastly, using a caulk tool or a wet finger, gently press the caulk against the sink and countertop. This will help ensure that the sealant is properly adhering to this area. After this area has been allowed to dry for 24 hours, this sink can be used normally.
Below, please find several videos on how to replace both interior and exterior sealants:
Interior Caulking:
Exterior Caulking: