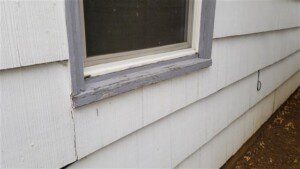
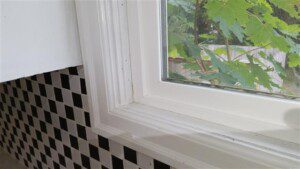
Lead paint is a product that was commonly used in the 19th and 20th centuries in American homes and can be found in a vast number of homes built during this period. Lead based paint was a widespread product known for being water resistant and quick drying. However, lead based paint was banned by the federal government in 1978 and some states banned or restricted this product earlier due to the lead in this paint being linked to lead poisoning in both adults and children. Lead contaminated paint and lead-containing dust is one of the most common causes of lead poisoning and roughly 3.6 million families in the U.S. are at risk due to lead based paint contamination according to the CDC.

Before moving into or renovating a home built in 1978 or earlier, testing for lead based paint can help to alert you to the presence of this substance. Areas of older homes that often still contain the original coat of lead-based paint include windowsills, baseboards, and walls. While DIY testing for lead based paint can help to determine if some of these areas contain lead, having the home evaluated by a qualified contractor is the most complete method of determining the presence and current state of lead containing products in the home.

Next, use the supplied swab from the testing kit to test this incision site. These swabs often need to be used precisely to achieve an accurate reading and the guidelines in the kit instructions should be followed carefully. Typically, the swabs are pinched from two areas to mix the liquid and solid chemicals inside. After opening the swab to expose the tip, press the tip down on the incision site for the designated time listed in the instructions. Use a circular motion to apply pressure to ensure that it makes contact with each layer of the paint.
Lastly, check for a change in color in the swab and compare it to the chart supplied with the test kit. Rhodizonate kits typically change to red when lead is present and sulfide tests change to gray or black. This can be affected by different colors of paint buried under older coats however so further confirmation may be needed. A colorless swap usually indicates that there was no lead detected, however a test card with trace amounts of lead on it should come with the kit that can be used to double check your results.
When testing for lead paint, please follow the manufacturer’s instructions closely and use personal protective equipment. When in doubt, consider hiring a environmental contractor who is properly licensed for lead paint testing.
